A simple, step-by-step guide for traditional and modern lime finishes
Limewash is one of the oldest and most natural wall finishes, but it’s important to understand how to apply limewash paint to your walls to achieve a good final result. The simple formulation of this paint means it needs a little care and the right preparation to ensure the finish is durable.
This guide walks you through the tools, preparation, and application methods you’ll need to get the best finish, whether you’re using traditional limewash or a modern lime paint alternative.
What Is Limewash Paint and Where Can You Use It?
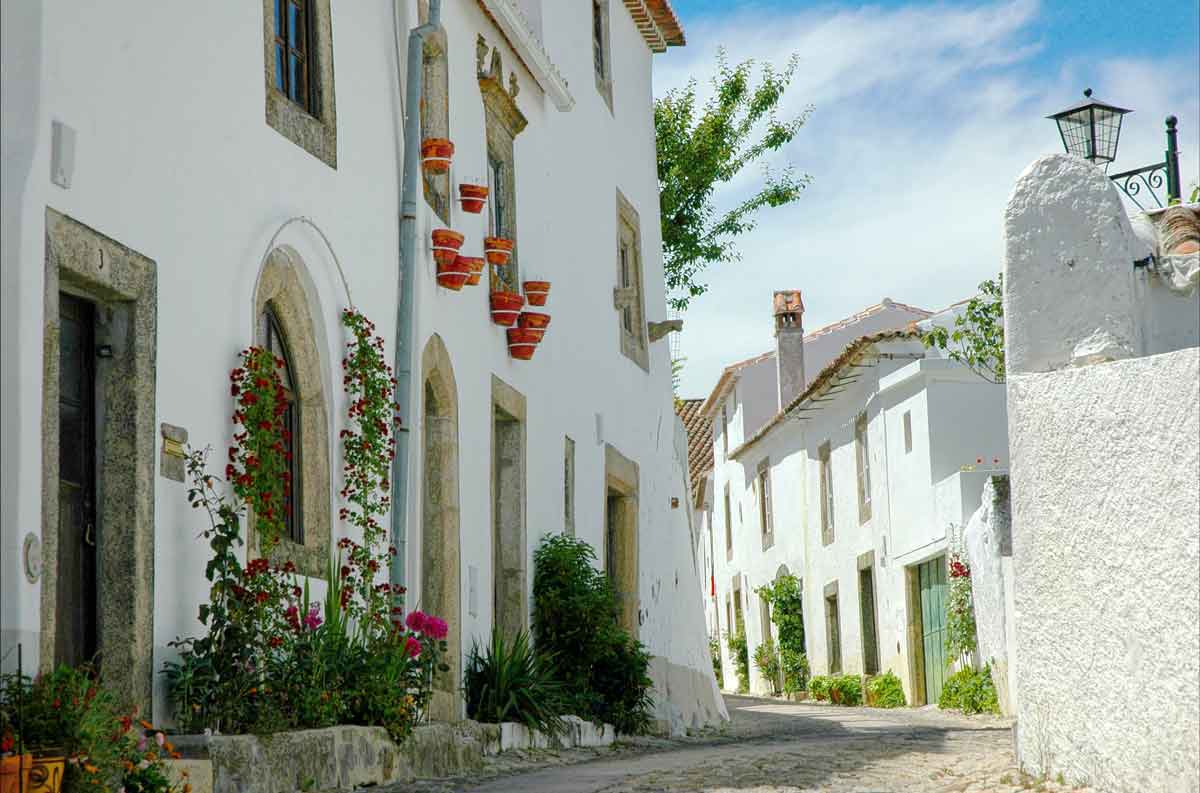
Limewash is a natural, breathable paint made from slaked lime and water. It’s ideal for use on lime plaster, render, bare brick, and masonry. You can use it both indoors and outdoors, but only on suitable surfaces.
If you’re new to lime‑based paint finishes, check out our full guide: What is Limewash and Where Can I Use It?
What Tools Do I Need to Limewash Walls?
Using the right tools makes limewashing easier and gives better results. Here’s what you’ll need before getting started.
Essential Tools:
- Natural bristle masonry brush (with long bristles for a textured stroke)
- Bucket or paint kettle
- Stirring stick or paint whisk
- Spray bottle or garden sprayer for misting
- Gloves and safety goggles
- Dust sheets and masking tape
Materials:
- Ready‑mixed limewash or lime putty
- Water for thinning and misting
- Pigments if a coloured finish is required
- Mineral primer (if applying over existing paint or non‑lime surfaces)
How to Prepare Walls for Limewash
Preparation is key. Limewash needs a clean, porous surface to soak into, so it’s important to assess the wall before starting and ensure the substrate is suitable for bonding with the paint.
- Bare lime plaster or render: Allow new plaster to cure fully. Lightly mist the surface before painting.
- Previously painted surfaces: Scrape off flaking paint, wash the wall, and apply a mineral primer designed for lime paints.
- Bare brick or masonry: Remove any dust, dirt, algae, or efflorescence. Repoint with lime mortar if needed.
Avoid applying limewash to shiny, sealed, or plastic‑painted walls. These won’t allow the paint to bond or breathe properly.
How to Apply Limewash – Step by Step
Limewash should be applied in multiple thin coats, with time to cure between each one. Don’t rush the process – a good limewash finish develops slowly.
- Mix the limewash – Stir the paint thoroughly until it has the consistency of whole milk or single cream. Pigments, if used, should be fully blended.
- Mist the wall – Use a spray bottle or garden sprayer to lightly dampen the wall. This helps the limewash soak in evenly.
- Apply the first coat – Thin the first coat with around 20 to 30 percent water. Use a natural bristle brush and apply in a cross‑hatch or criss‑cross motion for even texture.
- Work to a wet edge – Always apply limewash in manageable sections and keep a wet edge as you go. This helps avoid visible lap marks or darker patches where one area has dried before the next is applied. Large walls may need two people working together to maintain consistency.
- Allow to dry – Leave at least 24 hours between coats. Limewash dries much lighter than it looks when wet.
- Apply 2 to 4 coats – Continue with thin, even coats until you reach your desired opacity. Each coat should be applied to a slightly damp wall.
- Protect from the elements – Avoid applying limewash in direct sun, wind, or if frost is expected. Drying too quickly can cause poor adhesion and flaking.
Traditional Limewash vs Modern Lime Paint
Traditional limewash gives a soft, chalky finish with a natural, uneven texture. It’s highly breathable but needs several misted coats and regular reapplication over time.
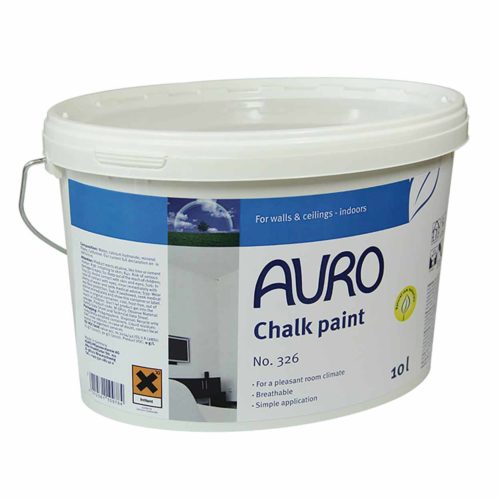
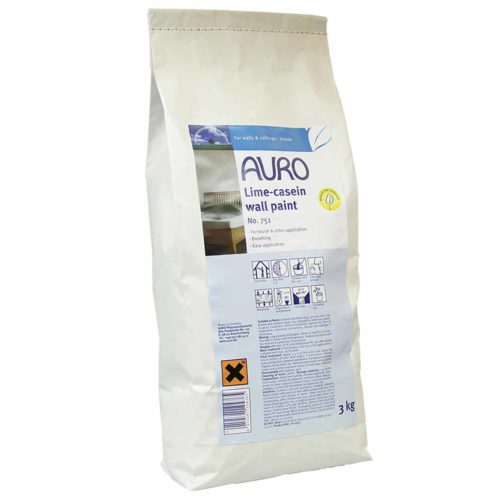
Modern lime paints, like Auro 344, are easier to apply, more durable, and suitable for a wider range of surfaces when used with the right primer. They still offer breathability but with a more refined finish and less maintenance, and dry to an attractive and unique matt finish.

Common Limewash Problems and How to Fix Them
Limewash is forgiving, but common mistakes can lead to issues. Here’s what to look out for.
- Powdery or dusty finish – Likely dried too quickly or applied to a dry surface. Mist and recoat.
- Patchy appearance – Often caused by poor mixing or uneven surface porosity. Stir thoroughly and apply another coat.
- Flaking or rubbing off – Could be due to application on a non‑porous surface. Use a primer or switch to a modern lime paint.
- Streaks or shine – May indicate over‑application or too rich a mix. Thin it down more next time.
FAQs
Can I apply limewash over existing paint?
Yes, but only if you use a breathable mineral primer first. Limewash must bond to a porous surface.
How many coats of limewash do I need?
Three to four coats is standard for new applications. Older walls may need more, especially outside.
Can I limewash interior walls?
Absolutely. Limewash works beautifully on lime plaster, stone, or brick indoors. Avoid using it on plasterboard or sealed walls unless properly primed.
Is limewash washable?
No – limewash isn’t wipeable like modern paints. But if it starts to look tired, just refresh it with a new coat.