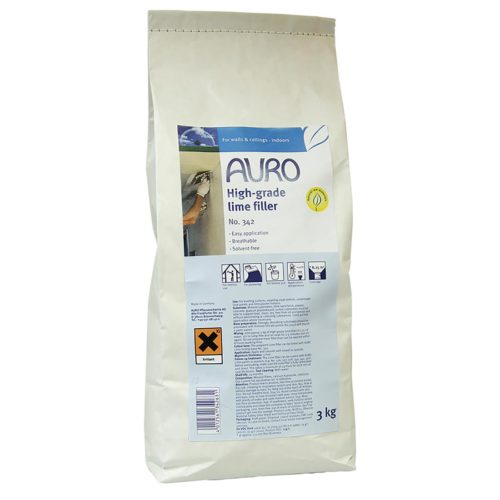
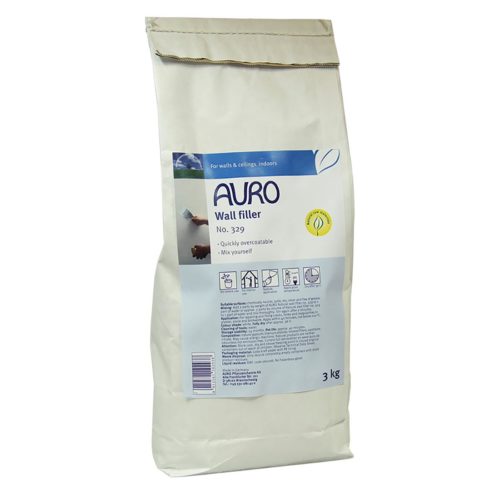
Natural Wall Filler from Graphenstone & Auro
Nature’s magic helped to create these unbeatable, organic products and breathable paints. Ingredients like citrus and castor oil lend helping hands to these organic paint fillers and plasters. Ready to go on mineral, plaster and organic surfaces, you’ll sort out those home renovation projects-and come out on top.
As you can expect from these products offer nothing but the best ingredients, keeping you and your loved ones safe from the usual toxins found in outside products. Nothing’s better than nature’s arsenal, when it comes to creating your dream home. Not only that, but these products are easy to use, making those DIY projects a breeze. Use the Plaster for walls in dire need of new textures. Use to smooth out the unevenness in your walls, or to simply cure the cracks in your living room walls. Those tired walls of yours will have an extra spring in their step, in no time at all!
By purchasing one of these natural eco paints, you’ll be helping your home to glow in an environmental, healthy and beautiful way. Knock out those holes and cracks in your walls in no time at all! You’ll be looking at a brighter, happier home in a heartbeat.
To add a unique element to any room, many people are looking into adding texture to their walls. This simple process gives the finished product a custom look that you can enjoy for many years. By using an eco-friendly decorative plaster before painting your walls, you can create any number of effects. Let your personality shine through when applying your textures… The sky’s the limit! Want to know more about painting new plaster?
First of all, texturing your walls can be a messy process, so make sure to put down drop cloths. Apply your decorative plaster to the walls. Depending on the look you’re going for, you could either use a textured item to paint the plaster on such as a broom or whisk, or you could use a natural roll-on plaster with a paint roller and then add detail after using items such as spatulas, combs, squeegees or trowels. Add swirls or lines if you wish! You could even invent new shapes and textures by blotting a clean sponge over the wet plaster, pressing down tissue paper, or even using items from nature such as grass or leaves to create amazing imprints.
Once you’ve added the texture of your choice, let the plaster dry for at least five days. If you used a non-tinted plaster, the walls may be white enough for you. Alternately, you can tint your plaster with an all-natural tint to create pastel plaster. Or of course, you could just paint over the plaster with an organic wall paint once it’s dry and make your room really pop!
Be prepared to add texture to all of the walls and ceilings in your home because once you see how easy, fun and stylish the first project is you’ll find yourself wanting to use decorative plaster everywhere!


